1 grapefruit, halved
1 lemon, halved
1 red chile (such as Fresno), seeds removed, finely chopped
1 (2") piece ginger, peeled, finely grated
1/3 cup unseasoned rice vinegar
3 Tbsp. soy sauce
1 tsp. sugar
2 pints cherry tomatoes
1 garlic clove, finely grated
1 Tbsp. extra-virgin olive oil
A pinch of kosher salt
18 oz. frozen udon noodles
2 medium Persian cucumbers, peeled, very thinly sliced on a diagonal
Cilantro sprigs, crumbled nori, and toasted sesame seeds (for serving)
Heat broiler. Squeeze grapefruit and lemon halves into a fine-mesh sieve set over a large bowl; discard pulp (you should have a little more than 1/2 cup juice). Mix in chile, ginger, vinegar, soy sauce, and sugar. Cover ponzu and chill.
Toss tomatoes, garlic, oil, and salt on a rimmed baking sheet. Broil until tomatoes are soft and lightly charred, 10–12 minutes. Let cool.
Cook noodles according to package directions; drain and rinse under cold water to stop the cooking. Transfer noodles to bowl with ponzu and toss to coat. Divide noodles and ponzu among bowls and top with charred tomatoes, cucumbers, cilantro, nori, and sesame seeds.
1 ½ cups (180 g) all-purpose flour
1 teaspoon baking powder
¼ teaspoon sea salt
1 large egg, beaten
1¼ cups (296 ml) whole milk or milk of your choice
8 ounces (230 g) cabbage, thinly sliced
2 scallions, white and light green parts chopped
½ yellow, green, or red bell pepper, thinly sliced
4 tablespoons vegetable oil
8 ounces (230 g) boneless chicken, shrimp, crab, or sukiyaki-style beef or pork, cut into ½-inch (12 mm) pieces
2 tablespoons mayonnaise
2 tablespoon or more homemade or store-bought Tonkatsu Sauce
½ cup (4 g) bonito flakes
½ cup (4 g) crumbled nori
Whisk together the flour, baking powder, and salt in a small bowl.
In a medium bowl, whisk the egg and milk. Add the flour mixture and mix until just blended. The batter should be quite thin. Add the chopped vegetables to the batter and mix well.
Heat 1 tablespoon of the oil in a medium non- stick skillet over medium-high heat. Pour ¼ cup (60 ml) of the batter to make a 6-inch (15 cm) pancake. Cook until medium brown, about 1 minute. Place ¼ of the meat on top of the pancake and then flip the meat side down. Turn heat to low and cook until the bottom of the pancake is browned, the meat is thoroughly cooked, and the vegetables are tender—about 10 minutes. Repeat until the batter is used up.
To serve, brush the pancake with mayonnaise and tonkatsu sauce, or soy sauce. Sprinkle with the bonito flakes and crumbled nori.
When you hear the word “wagashi,” you probably picture a style of nerikiri wagashi, like those that are usually served during tea ceremonies. However, the term “wagashi” is used for all traditional Japanese desserts, ranging from simple daifuku mochi to street foods like taiyaki, to more classical nerikiri wagashi. Most wagashi are made from ingredients like rice flour, beans and agar, which have been used for many centuries. Traditional wagashi uses only plant-based ingredients, and this is what makes these Japanese confections so different from Western desserts (and therefore suitable for vegans). Wagashi can be served in both casual and formal situations, depending on the style.
On social media, I’m known as “Miss Wagashi.” I create a variety of traditional Japanese sweets and share them on Instagram. On YouTube, I share authentic Japanese home cooking, traditional sweets recipes and information about delicious foods from Japan.
My Wagashi and Mochi-Making Intensive Course is now available on Udemy. This is an online course with 24 video lectures and a PDF workbook with recipes. You can learn how to make wagashi from your kitchen at any time!
For the dough:
Mix the glutinous rice flour and sugar together and add half of the water. Stir until the sugar has been dissolved and the mixture is smooth. When there are no clumps remaining, add the rest of the water and stir until it is a smooth paste. Set aside.
With a spatula, smooth out the white bean paste in the bottom of a microwave-safe mixing bowl and make cuts in the paste to increase the surface area. This helps it cook faster. Cook in the microwave at 500 watts (low power) for 1½ minutes. When it comes out of the microwave, it should look slightly white-ish and dried out on top but still damp on the bottom. Stir well, flatten, make more cuts and heat it in the microwave for 1½ more minutes.
Now it should look white and dry on top. When you touch the surface, it should not be sticky. If your bean paste sticks to your finger, it should be heated longer.
Heat the mixture of glutinous rice flour, sugar and water in the microwave for 30 seconds at 500 watts (low power). At this point, it should be partially cooked. Mix it and return it to the microwave to heat for another 30 seconds. Stir again. The mochi should now look sticky and transparent. Add this mochi to the white bean paste and stir until well combined.
Now the dough is ready to knead. Transfer the dough on top of a damp cotton cloth. To knead it, take two opposite corners of the cotton cloth and fold the dough over. Repeat with the other two corners. Continue kneading until the dough is smooth.
Break up the dough into small pieces to help it cool down faster. Let the dough rest for about 1 minute, but don’t leave it out for too long or else the edges will start to dry and crack.
After a minute, gather the dough in the center of the cloth and knead to combine again. The surface should be smooth.
To check if it is ready, use the line test: With one finger, draw a line in the dough. If you don’t see any clumps or cracks, the dough is ready.
You can either use the dough right away or cover it in plastic wrap and let it rest in the fridge overnight. The next day, the dough will be more stable and easier to handle (leaving it in the fridge overnight is not mandatory).
To shape the wagashi:
Roll 2-teaspoon-size balls of bean paste. This will be the filling.
Wrap the filling in the dough (about 1 tablespoon plus 2/3 teaspoon). Seal the dough.
Roll it between your palms to make the surface smooth.
With a wooden triangular stick, draw lines to create the flower petals.
Make the center of the flower with a small amount of yellow dough.
Starting close to home, this Fujimi Crispy Chicken is actually inspired by my Fujimi obachan (my maternal grandma), right down to the soy-garlic-and-sake marinade, as well as her signature sweet-and-sour scallion sauce. It was something that I grew up eating. Fujimi is the name of her town in Nagano, not far from Minowa. I’m always very proud to serve this dish.
Preparation
Sweet-and-Sour Sauce:
In a medium saucepan, combine the vinegar, mirin, sugar, soy sauce, scallions, sambal, ginger and garlic. Bring to a simmer over medium heat, stirring to dissolve the sugar. Turn off the heat and let cool.
Transfer to an airtight glass container, cover and refrigerate overnight.
Return the sauce to a pot, heat it over medium-low heat, stir in the potato starch, then remove from the heat and let cool. Pour into an airtight glass container. Seal the container and store in the refrigerator for up to 1 week.
Chicken:
In a medium bowl, whisk together the ginger, garlic, mirin, sake and soy sauce. Add the chicken and marinate for a couple of hours in the refrigerator.
Fill a high-sided large saucepan with oil to a depth of 3 to 5 inches and heat over high heat to 350 F.
Toss the marinated chicken thighs in the potato starch. Add the chicken to the hot oil and deep-fry until crispy and cooked through, around 4 to 5 minutes. Place on skewers and serve with Sweet-and-Sour Scallion Sauce.
Tonkatsu Sauce
2 teaspoons Japanese karashi mustard
2 cups ketchup
1/2 cup Worcestershire sauce
2½ tablespoons soy sauce
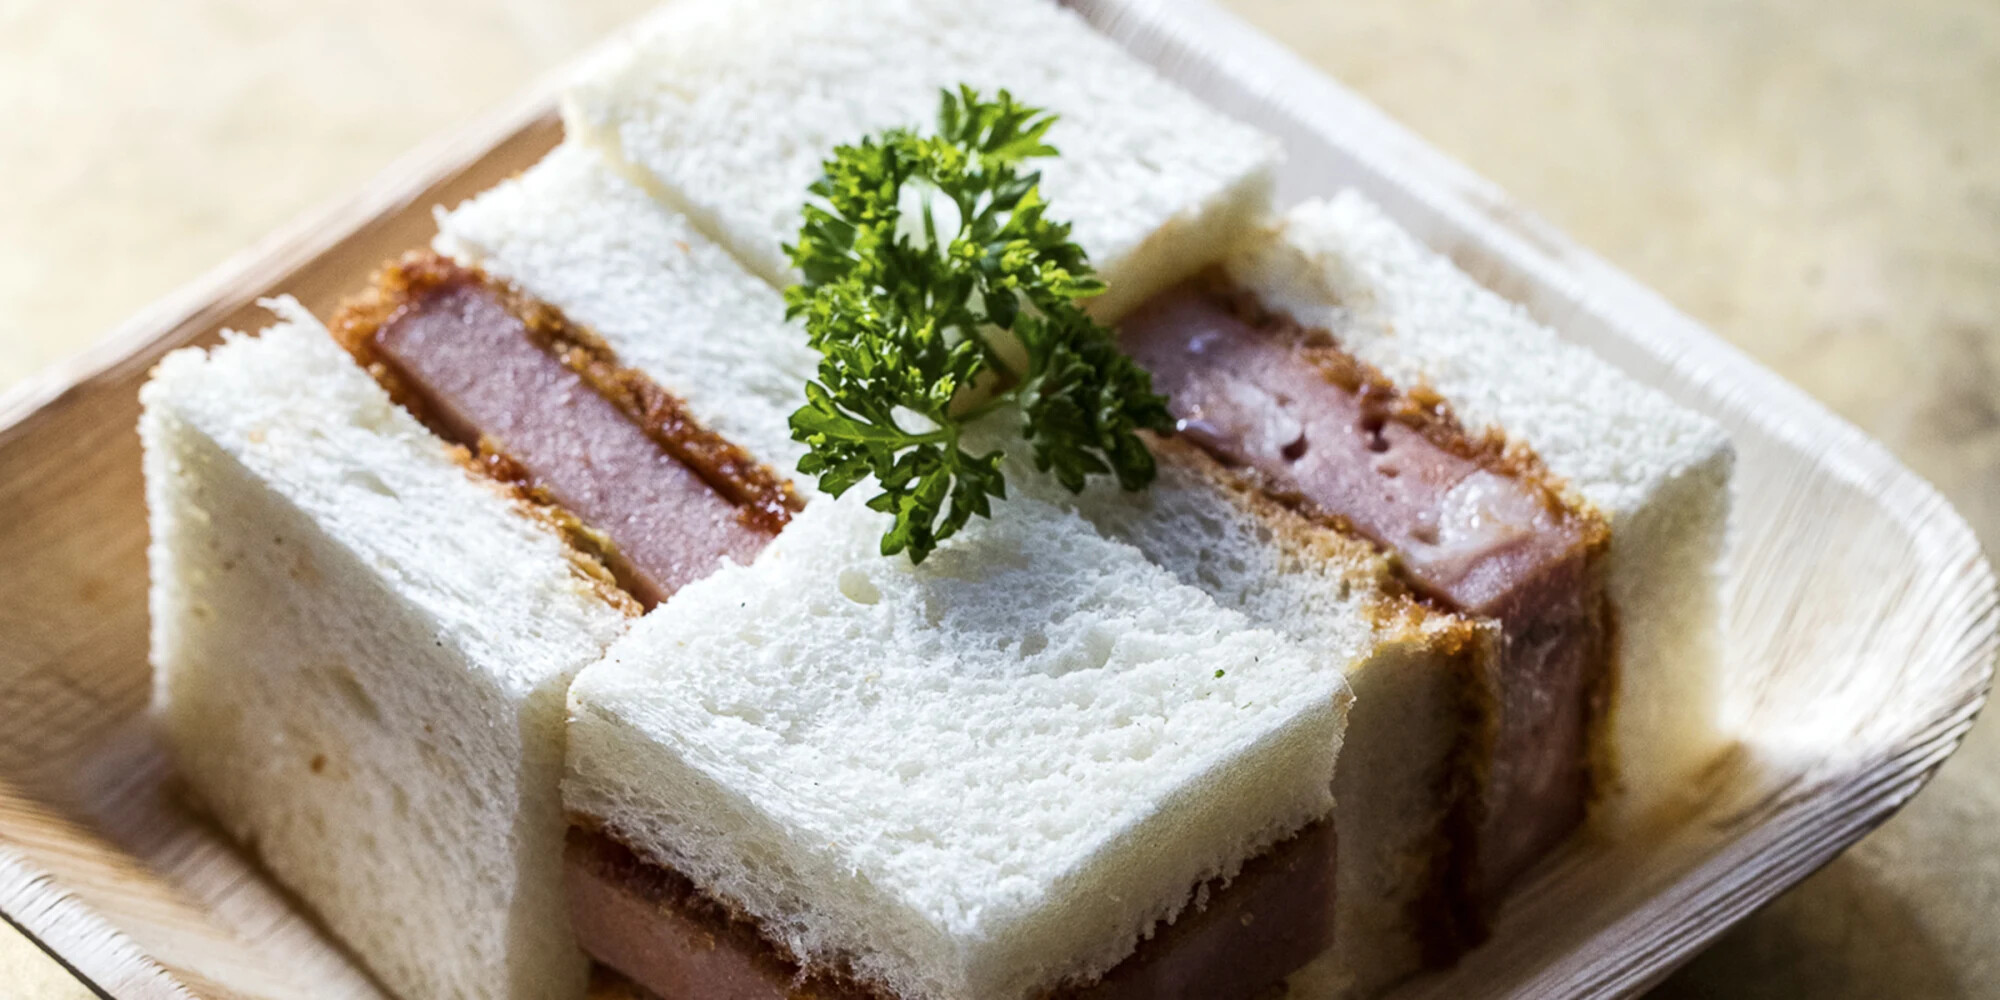
Sando
frying oil, preferably canola
1 (1/2-inch-thick) slice mortadella
1/2 cup all-purpose flour
1 egg, beaten
1 cup Japanese panko breadcrumbs
1½ teaspoons Dijon mustard
2 slices Japanese milk bread
1 tablespoon Tonkatsu Sauce (recipe above)
For the Tonkatsu Sauce:
Combine the mustard, ketchup, Worcestershire and soy sauce in a blender and blend until fully incorporated.
Pour into an airtight 2½-cup glass container. Seal the container and store in the refrigerator for up to 2 weeks.
For the sando:
Fill a high-sided saucepan with frying oil to a depth of 2 to 3 inches and heat over high heat to 350 F.
Dredge the mortadella in the flour, dip it in the beaten egg and dredge in panko breadcrumbs.
Add the mortadella to the hot oil and fry until golden brown, about 1½ to 2 minutes for each side, flipping once.
Spread the mustard over one slice of Japanese milk bread and the tonkatsu sauce over the other.
Place the fried mortadella between the two bread slices, then cut the edges of the crust to form a square. Cut into four square pieces and serve.